The dishwasher incident I wrote about recently - two litres of water into the mineral wool, a home dehumidifier, sorted in a day - was, in the grand scheme of water-related home disasters, a rounding error. It did remind me of something considerably less manageable. A different house, about fifteen years ago.
The morning
I woke up hearing running water, somewhere downstairs. I walked down, checked kitchen and bathroom first - both were OK. Then I opened the door to the garage. Ankle deep water.
The water had been running for hours. The bill that arrived later confirmed it - the volume was in the thousands of litres. The whole ground-level utility area was flooded.
I thought I was lucky. The garage and boiler room had relatively thin concrete floors with little insulation, meaning the level was about 15 cm below the rest of the house - which looked dry.
Step one: stop the water
Main stopcock was the obvious first step. Once the water stopped flowing, I could look for the source properly. The burst pipe was behind the boiler - a joint that had let go, probably factory defect, as the house was quite new. Better news: there was an isolation valve for that section of pipework. Once I closed it, the rest of the house had working water while the repair was arranged.
Pumping out
The garage and boiler room needed emptying. I used a garden pump - the kind sold for emptying garden ponds or irrigating with rainwater. It took a while but it worked. While it was running and for the rest of the day, I kept the garage door and the boiler room door fully open: it was a sunny day, reasonable airflow, and I thought that would be enough.
The next morning
The walls around the entire ground floor of the house were damp. Not just near the garage — walls in rooms on the opposite side of the building. I lifted a floor panel well away from the flooded area, and found water sitting under the floor.
What had happened was obvious in retrospect. Thousands of litres don’t just sit where they land. Water finds every gap, every void, and it spreads. The concrete and masonry had absorbed it laterally and it had travelled, slowly and invisibly, throughout the ground floor structure. What looked dry on the surface was sitting on saturated subfloor and wicking moisture up into the walls.
Who you gonna call?
This was not a DIY job. The scale of moisture intrusion, spread across an entire ground floor — floors, walls, subfloor void - needed proper equipment and someone who knew how to use it. I filed an insurance claim and found a professional drying service. This is worth knowing: burst pipe flooding is a standard insurance event, and most household policies cover the drying.
The drying process
The technician arrived with a van full of hardware that looked like it belonged on a factory floor. What followed was a systematic, several-week operation.
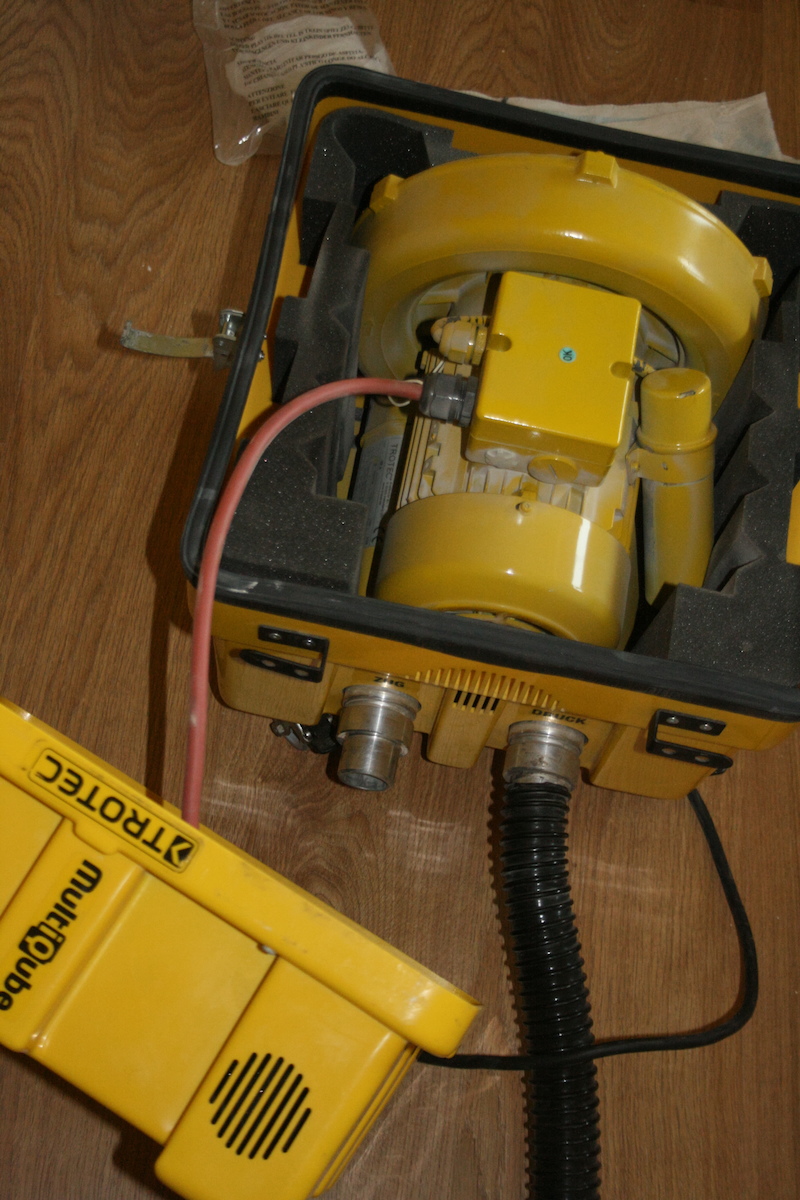
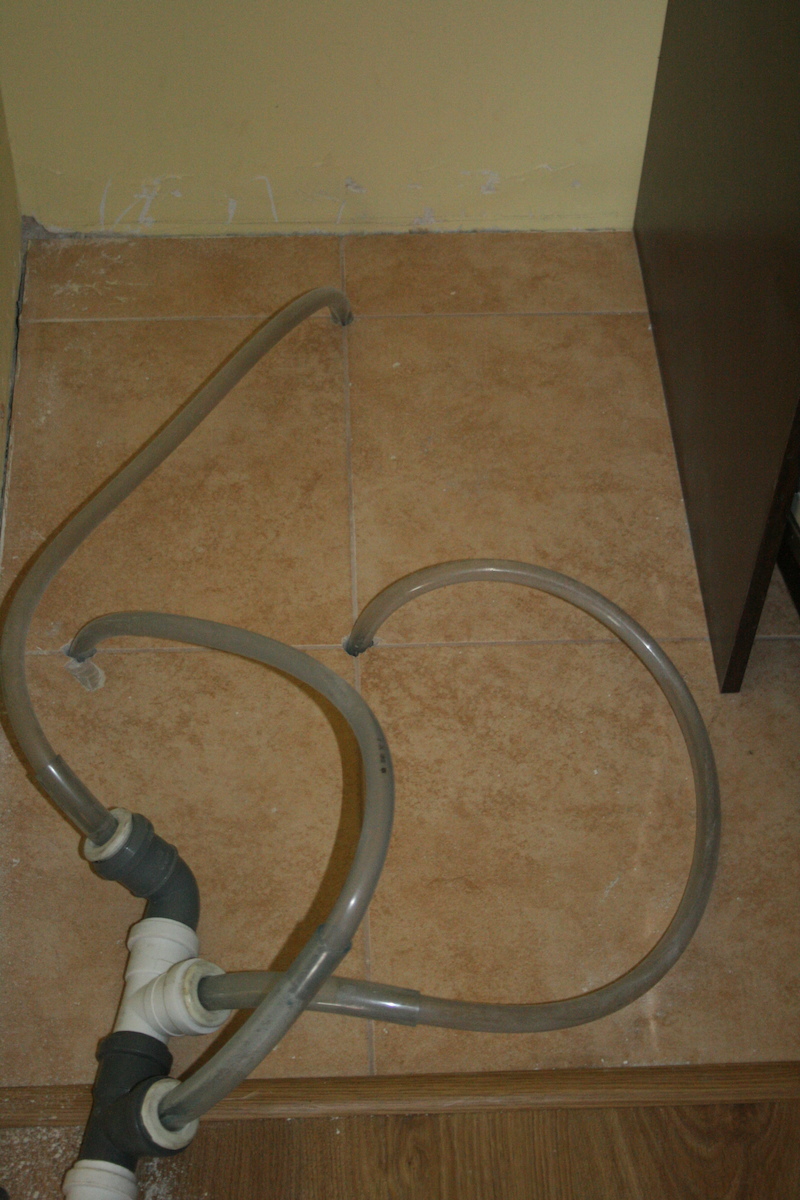
First deployment: three large industrial dehumidifiers placed at strategic points around the ground floor, plus high-volume fans to create airflow through the space. These are not the units you buy at a supermarket - commercial drying dehumidifiers extract 50-100 litres per day. He also drilled holes in the base of walls and lifted floor panels to allow trapped moisture to have somewhere to exit.
Follow-up visits: he came back every few days with a moisture meter, took readings at marked points throughout the house, moved equipment as the drying front progressed, and adjusted the setup accordingly. Drying a structure isn’t a static operation — as the moisture distribution changes, the equipment placement needs to follow it.
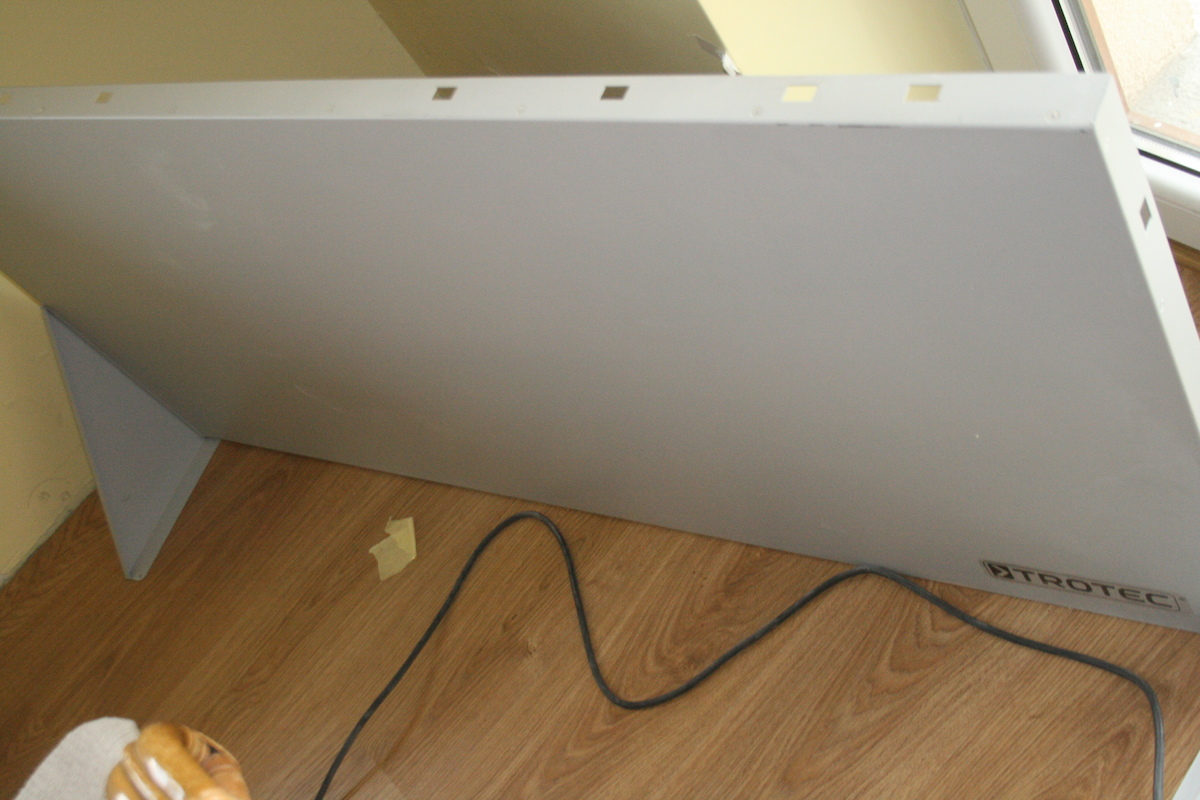
Infrared heaters: at a later stage, directional infrared heaters were aimed at specific areas where moisture was stubbornly high. Infrared heats the surface and the material directly, accelerating evaporation from those spots without heating the whole room.
The long tail: one dehumidifier stayed for several weeks after the main equipment was collected. Drying masonry and concrete is slow work. The last moisture is the hardest to shift.
The ozone treatment
The final step, once moisture readings were satisfactory throughout: an ozone generator, run through the sealed house for a day while we stayed elsewhere.
There was no visible mould anywhere, but moisture over an extended period creates conditions for fungal and bacterial growth even where it’s not visible. Ozone (O₃) is a highly reactive form of oxygen - three atoms instead of the usual two - that kills mould spores and bacteria.
The useful property of ozone for this application is that it’s unstable. At room temperature, O₃ breaks down naturally into regular O₂ within hours — the half-life is roughly 20 to 50 minutes depending on temperature and humidity. Run an ozone generator for a few hours, then leave the house closed for a few more, and by the time you return there’s no ozone left. Unlike chemical fungicides, which are toxic to humans, require ventilation and still leave some residue, ozone simply reverts to oxygen.
The bill
The electricity consumption for the month was close to our usual yearly usage. The drying service itself was a significant professional fee. Combined: a number I would not have wanted to pay out of pocket.
All of it was covered by the insurance. Most of the devices had built-in energy counters, those that hadn’t were connected through power meters. At the end, we got energy usage report to show to the insurer.
Could you hire the equipment yourself?
Yes. Industrial dehumidifiers, high-volume fans, and ozone generators can all be hired from specialist hire shops. Doing it yourself is cheaper per day than a drying service that includes a technician.
I wouldn’t recommend it for a large flooding event. The hardware is only half of the success. The other half is knowing where to put it, how to identify where moisture has travelled that isn’t visible, when to move to the next phase. The technician on my job clearly had experience with dozens of similar situations.
What I did afterwards
While the drying was in progress, I ordered a few leak detectors. Small battery-powered devices with two electrodes on the base - when water bridges the electrodes it triggers a loud alarm. They cost almost nothing and run for a year or two on a battery. I put them on the floor everywhere a leak seemed likely. They wouldn’t prevent a leak, but would turn it into an easily manageable event.
A thing I considered but didn’t implement was an automatic water shutoff - a leak detector that closes the main valve when triggered. Unlike the alarm, it would work even when nobody’s home.