Measuring tools: the basic set
Measuring is one of those areas where beginners tend to either underinvest or overinvest. The right answer is somewhere in between. A basic, cheap set of measuring tools unlocks many possibilities and for most projects you don’t need precision instruments.
You often don’t need an accurate number
Here’s an important distinction:
- Absolute measurement: “This piece needs to be 340mm long”
- Relative measurement: “This piece needs to be the same length as this space”
Most DIY work is the second type, not the first. And for those, it doesn’t matter if your measurement is off - as long as it’s consistently off.
Start here: the essentials
These earn their place because you’ll use them on almost every project.
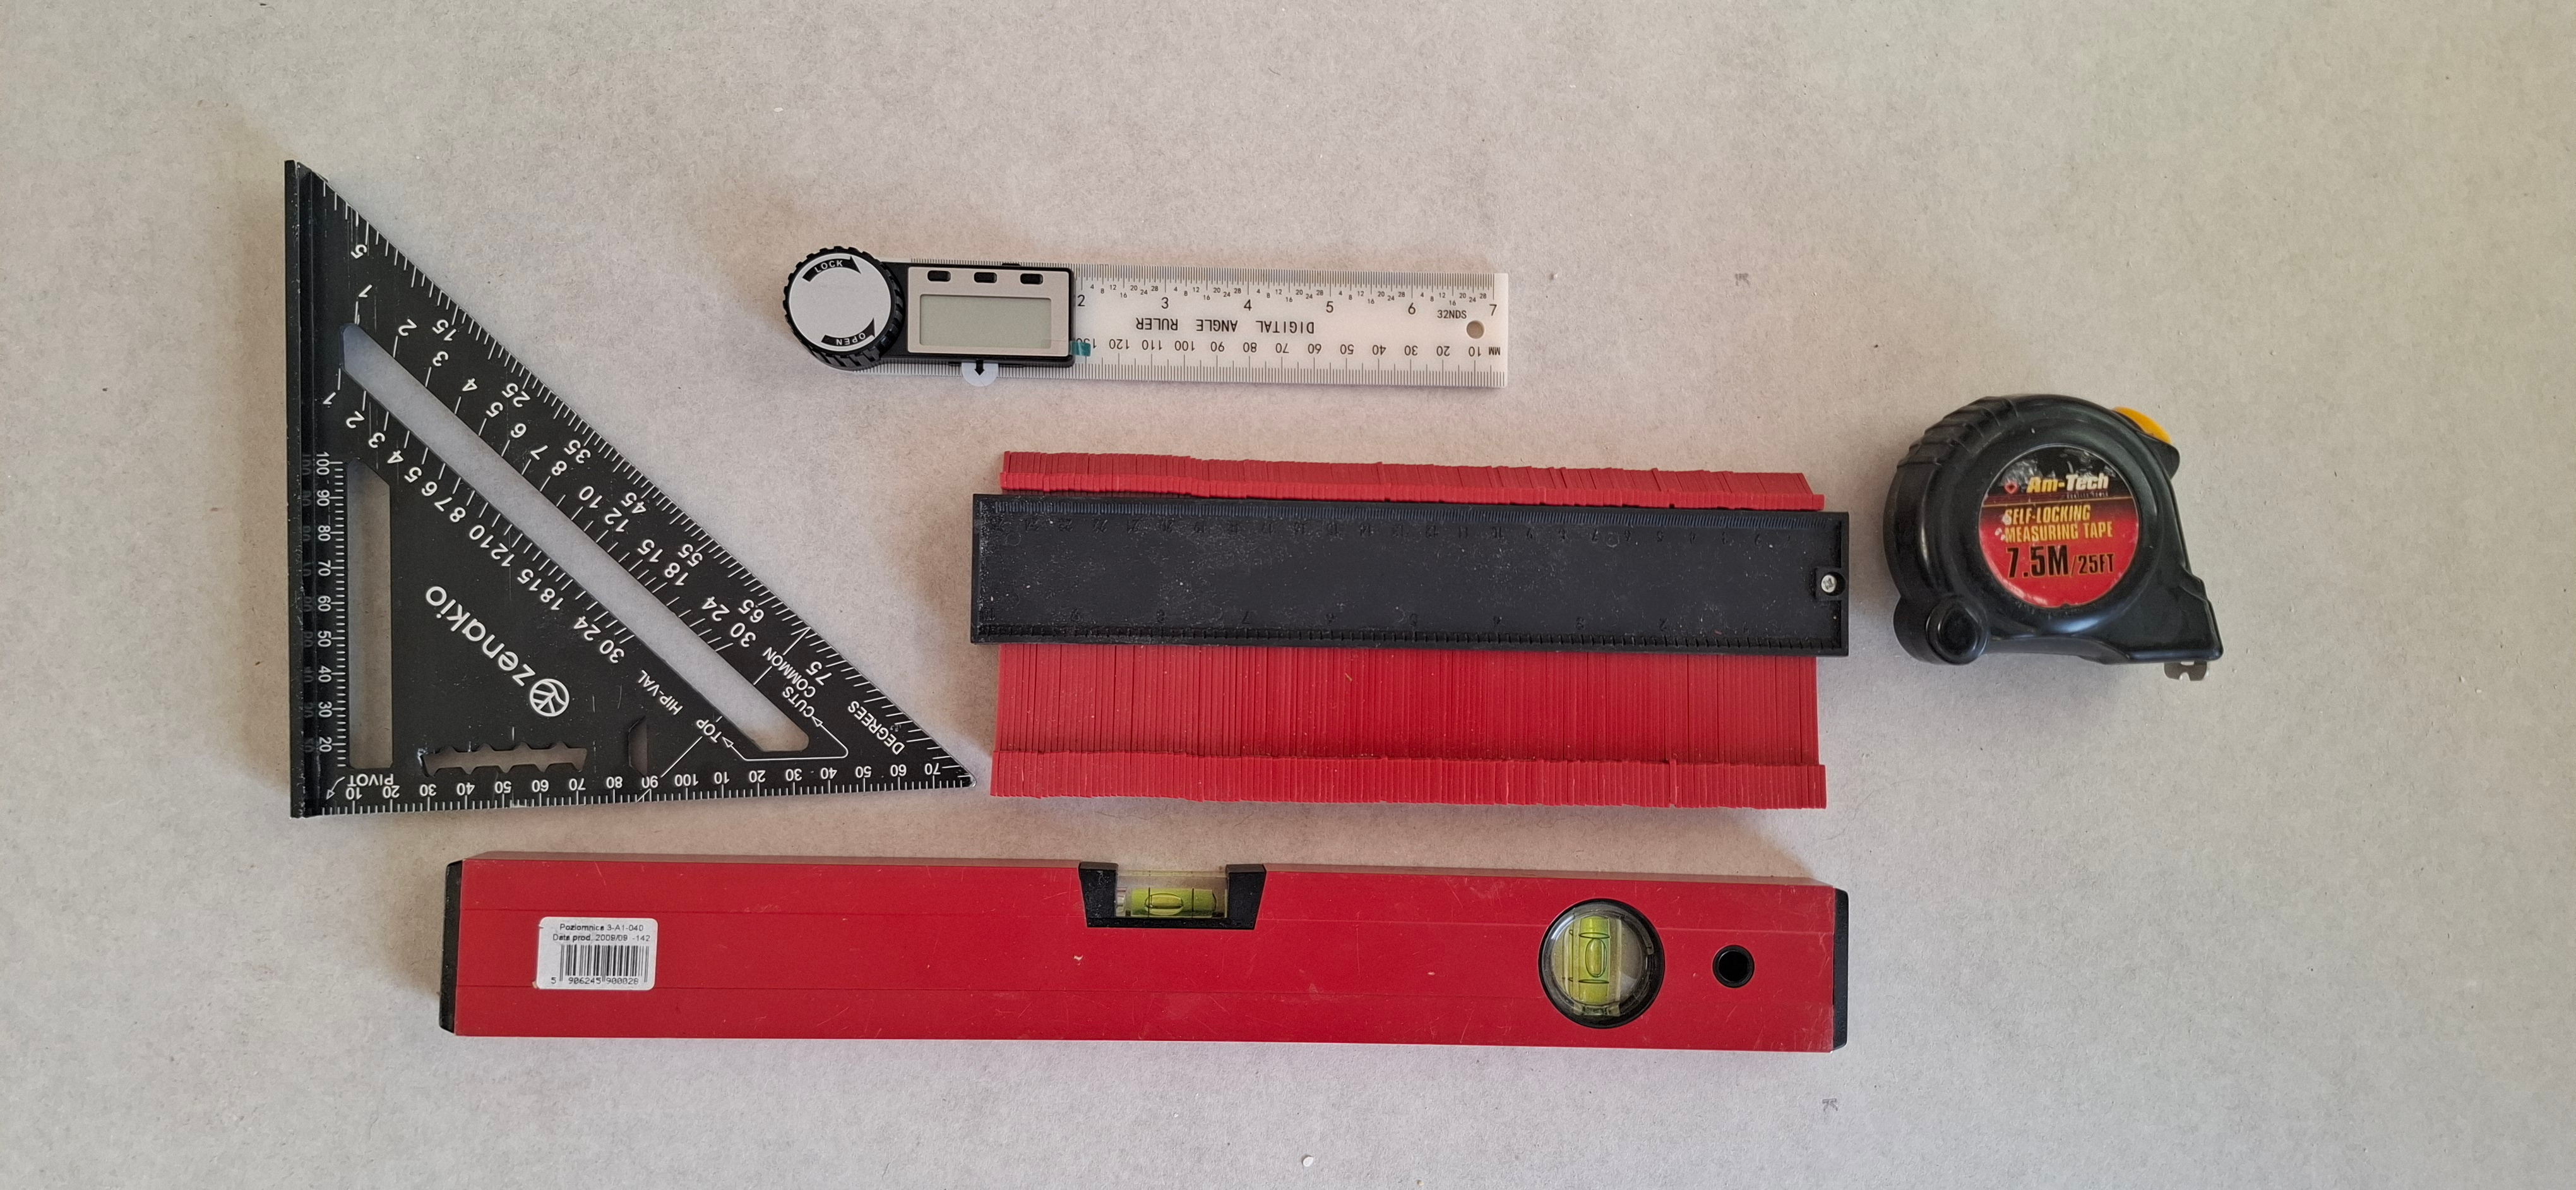
Tape measure
You know what a tape measure is and surely you have one. But they are not made the same. Blade width and thickness matter - it stands out further without flopping. Mechanism works smoothly or not. 2m tape is enough for 50% of usual tasks, 5m tape is enough for 99% of them, but it’s bulkier (if you got a laser rangefinder as well, you’ll probably use it for most measurements over 2m).
One practical observation: tape measures tend to vanish. They are used a lot, so they walk off to another room, they end up in a jacket pocket, they fall behind a workbench and are never seen again. The solution is to own several. Get one that’s good quality. Make sure this one is safe and use it where accuracy matters. For the rest, cheap is fine: the branded freebies that turn up at trade shows, no-name tapes from the pound shop, whatever. They live in different rooms, in the car, in the tool bag that goes on site. Some hardware stores (and IKEA) give free 1m paper tape measures. I also have those around, not as good as a proper tape measure, but better than nothing.
Square
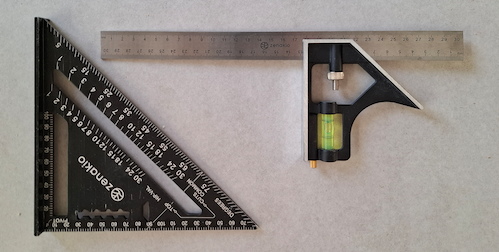
Combination square, rafter square, T-square, machinist square, carpenter square - doesn’t really matter. Even a plastic square from your child’s schoolbag will do in a pinch. Having said that, you might develop a preference. I tend to use a speed square, because of what it says on the tin: I can use it really fast.
The different styles have different extra features, but one thing they have in common is a 90° angle. Most of the stuff we build has a lot of those, and our eyes are really sensitive to almost-right angles. You can use a square to assemble IKEA furniture or build your own, guide a saw blade, mark a line perpendicular to a board. Most types have a lip that makes them easier to set along the edge of material. Most also have a measuring scale for small distances, and a 45° angle. Some feature a protractor.
I bet you already have all other tools from the basic set, but if you’re a beginner, you probably don’t have a square. Get one and you’ll be surprised how much it can improve your work.
Squares for woodworking or construction tend to be used near sharp tools and abrasive dust, so metal ones will last longer than plastic. There is one exception to that: if you decide to buy a very cheap one, like from a certain Chinese online store, their metal squares are sometimes made from very thin, flexible aluminium and therefore completely unusable. Plastic ones will at least work for some time (provided they are square enough).
Very high quality squares are surprisingly expensive for such a simple tool, they will last for years (the markings are engraved, not just painted) and are very accurate, but this accuracy is overkill for most tasks. My recommendation: skip both the cheapest and the high-end stuff, get one budget square in any style you like from a hardware store. Or better yet, two squares of different styles and different sizes. A budget set of speed square and combination square, like the one below, will get you a long way.
Spirit level (bubble level)
One of the first tools you need when moving to a new house. You’ll need it for leveling a washing machine, hanging shelves, setting pictures straight. And if you’re doing a bigger renovation, maybe you want to get fancy and have your floors horizontal and walls vertical?
Longer levels are more accurate than short ones, but are impossible to use on a ladder or in tight spaces. Around 30cm budget model from a tool shop should be OK, but stay away from very short ones or especially novelty style, e.g. keychain. For laying floors, a bigger one, 150-200cm, is recommended. Note that even if you get a laser level (see below), you’ll still need bubble levels.
Check it occasionally for accuracy by reading it, then flipping it end-for-end and reading it again. Both readings should match.
Marking tools
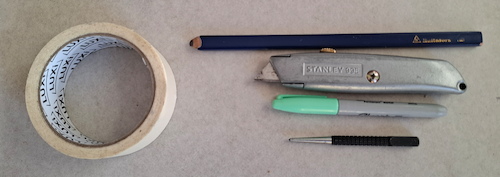
You’ll need a few. They’re cheap and most likely you already have them:
- pencil is good for wood and most walls (carpenter pencil is much tougher, standard pencil breaks easily on wood)
- marker for those surfaces that pencil doesn’t work on
- utility knife, because sometimes it’s more accurate and it gives your tool a good starting point
- centre punch will mark metal and most other surfaces by making a small dent
- masking tape is sometimes useful to mark a place or add a writing surface
- string when you need a straight line over long distance
Advanced set - add these when your projects need them
Calipers
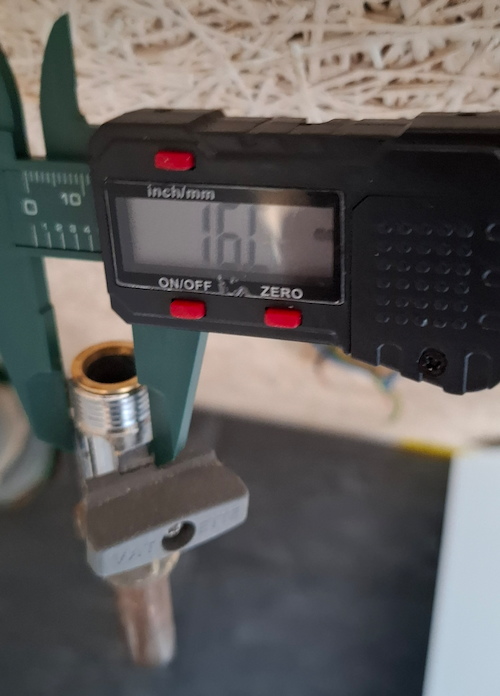
I hesitated in which category to put calipers. I believe that as soon as you start doing more than an occasional home repair, you should get cheap calipers. If you’re doing 3D printing or metalwork, you need a precision instrument. I’ll cover them soon in more detail.
Steel ruler
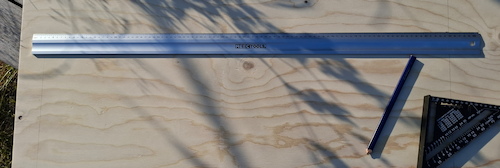
A 1m (or longer) ruler is indispensable for working with drywall, plywood and other sheet goods. You can use it to draw a line or cut one with a utility knife. Sure, if you don’t have a long ruler, you can try that with tape measure or a straight board. But one is flexible and the other doesn’t have a well-defined edge. A good ruler makes your work faster and more precise.
Digital angle finder
Most of the time you only need 90° and 45° and those are covered by a square. For a one-off task requiring a different angle, you can just use a school protractor. A real angle finder is much more: it has movable arms that you can use to (carefully) guide your tool or measure existing angle on a real world 3D object, often a magnetic base. Whether you need it or not depends on how often you make angle cuts.
Contour / profile gauge
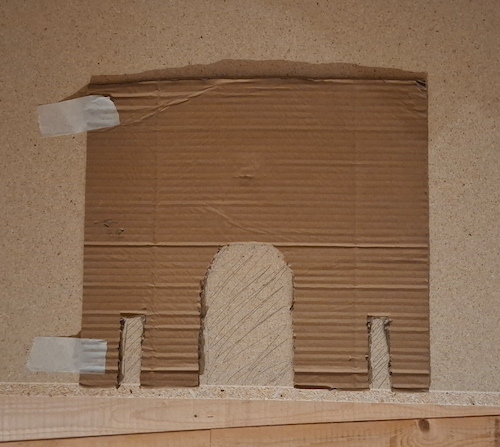
A comb of sliding pins that you press against a profile - the edge of a skirting board, a pipe, a complex moulding - and it captures the shape, which you can then transfer to your material to cut around it. It’s cheap and invaluable for fitting flooring around door frames and pipes. If you don’t have it, cut a cardboard template. It’s even more precise, but takes a long time.
Laser rangefinder
Measuring on a room scale takes some time, and you either need another person to hold the end of the tape measure or you need to hook it onto something. If a floor is covered in building materials or rubble, getting to the other end of the room is hard.
Which is why professionals in construction or real estate use laser range finders. Many devices can also calculate the area (saving you from a terrible task of multiplying 2 numbers on your calculator) so you can estimate how much paint or tiles you need.
Do you need one for home use? No, if you only occasionally measure room-scale distances. But if you do it a lot, soon you’ll stop thinking it’s just a gadget and consider it a worthy investment. Time saving and accuracy improvements will be worth it.
Laser level
I’ll cover it in detail soon. In short, they’re useful for large renovation projects and my recommendation is to either spend more on 3x360° type or don’t buy them at all, as a simple cross laser is 10% of usefulness for 50% of the cost of the big brother.